About Azure AD SSO
XY Sense's SSO integration with OpenID Connect supports Microsoft Azure AD clients. An Azure AD administrator will be able to configure the SSO integration and provide the XY Sense administrator with the necessary configuration details. Any Azure AD user will then be able to sign in to XY Sense cloud platform. XY Sense users' settings are managed by the Customer Administrator within the XY Sense platform include what information the user has access to within the XY Sense platform.
Azure Active Directory (Azure AD) is Microsoft’s multi-tenant cloud-based directory and identity management service. It is one of several identity providers you can use for Single Sign‑On into the XY Application.
Prerequisite
You need to be an administrator of your Azure AD for your organisation to complete the integration.
Register XY Sense Application in Azure AD
- Open the Azure Active Directory Service https://portal.azure.com/
- In the left nav's Manage section, select App registrations.
- Add a new registration. For details, see Microsoft's Quickstart: Register an Application topic to create a new Azure Active Directory Application.
- Name: XY Sense
- Redirect URI: https://xyapp-master.auth.ap-southeast-2.amazoncognito.com/oauth2/idpresponse

Gather Required App Values
- Client ID
- Issuer URL
- Client secret
- You can find the OIDC Client ID on the new app's Overview page, as the Application (client) ID.
- The Issuer URL can be found in OpenID Connect metadata document
- Click the Endpoints button at top of the overview page to display the OAuth endpoints
- Copy and navigate to the OpenID Connect metadata document endpoint. It will be similar to - https://login.microsoftonline.com/{your-directory-tenant-id}/v2.0/.well-known/openid-configuration
- The result will be a JSON document with a property called "issuer"
- You issuer URL will most likely be https://login.microsoftonline.com/{your-directory-tenant-id}/v2.0
Create and Copy a Client Secret
- To create a client secret: From the Azure portal's left nav, select Certificate & secrets. Then select New client secret.

- Add a new client secret with a descriptive name, and an expiration time frame that fits with your organisation's security policies. Note that when it expires access to XY Sense with be disabled and will need to be configured again.

- Immediately copy the Value and Secret ID from the resulting page.

Optional: Create and assign users to roles
This is an optional step and allows you to manage user permissions under the SSO Identity Provider.
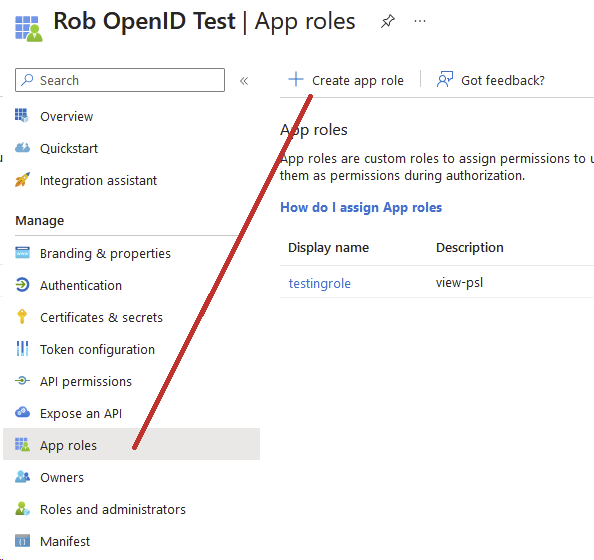
- From the Azure portal's left navigation panel, select App roles. Then select Create app role.
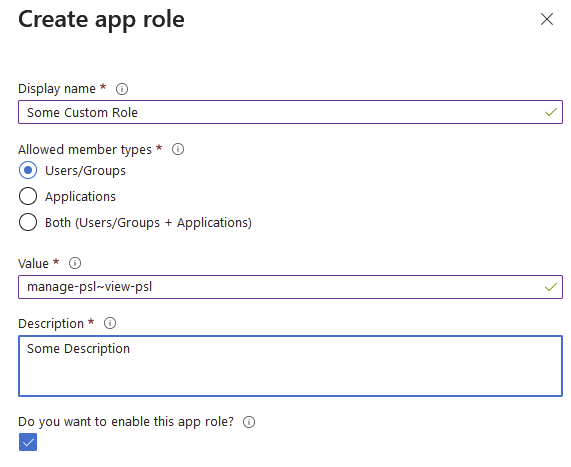
- Give the role a name, description and set allowed member types to 'Users/Groups'
- For value, provide it the list of XYSense AccessClaims desired, found in
DataAccessPlatformAgnostic.AccessClaims(Must havecustomerUsers: true)- For this list of claims/permissions refer to permissions table
- Permissions must be separated by a tilde (~). See below for an example
- Now, head over to the enterprise application linked to this application registration. To do that, visit 'Overview' on the left tab, then click the link next to 'Managed application in local directory'

- Now, on the left, click on Users and groups.
- Click 'Add user/group' then select the users desired
- Once the users have been added, select the users you wish to assign a role, click 'Edit assignment', then on the left under 'Select a role', click on 'None selected' and select the role you previously created.
Enable SSO in XY Application
Proceed to Enable SSO on XY Application: How to setup & manage SSO in XY Application
Comments
0 comments